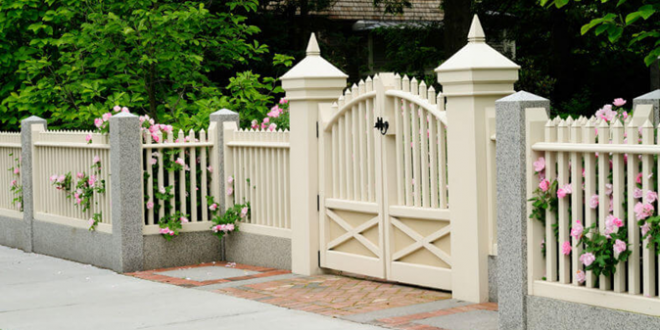
The first thing that you should do when it comes to building a fence is to check local homeowner’s association regulations and local codes so that you can check whether there are some rules on placement, size, and style that you have to consider.
Therefore, if you need a permit, you will have to think everything through. For wood fencing, you will have to determine your property lines, so check out with your neighbor about the plans, because you do not want to create a hassle afterward.
By determining the layout, you can plan where you wish to place full pickets, which is especially crucial for corners.
The design and planning is everything, so you should see where the gate would be, as well as gate pickets that will help you create an outline that will reduce stress and improve your productivity.
You can use graph paper to draw a plan for your fence or choose some software that will allow you to do it on your PC. That will help you create a gate location in combination with post areas, which will increase overall convenience when building the entire fence.
You have probably considered the best gate hardware that you should select on the market. You should always remember that every single set tends to attach differently, so you have to measure everything accurately for post spacing.
Even though you wish to do it yourself, we recommend you to get an extra pair of hands. Call a best friend or neighbor, or you can check with your student son to give you a hand.
The main thing you should consider is checking the underground utility plans so that you can avoid digging in certain areas.
Installation of Wood Fence
- Layout and Post Locations
The first thing that you should do is to mark the entire layout by using batter boards and string. You can do it by placing the batter board beyond next to fence corners and surround them with strings.
They will help you line up the posts afterward. By marking the spacing and posts by using paint, will help you create an outline for spacing. Have in mind that it should be between six and eight feet from the center of one post to the next. Use a tape measure to increase accuracy.
As soon as you can establish locations, mark the string positions on the batter board. That will reduce the hassle of digging post-holes afterward.
- Dig Holes and Set Fence Posts
You should check out the regulations and codes to see whether there are requirements for whole sizes that you should dig. The entire diameter should be three times bigger than the width of the post you are using.
You should fill the first hole with a concrete mix for about six inches. By setting a post on dry concrete, you will flush it but without pushing too much. Check out with level to make sure that everything is in place. Do this for all others as well.
Add the concrete to holes but do not overdo it especially if you are using fast-setting mix, which is less expensive, but it requires plenty of time for adjustment. Check here if you wish to learn more on picket fences.
- Fence Pickets Are Next
The best way to install picket fence is to keep the tops at the even height. The bottom should be up to 1-1/2-inches above the ground. You will be able to maintain height by using specific methods.
You should line them on the rail and secure with nailer, the best one is pneumatic, but you can also use an electric drill as well. You can assemble a spacer by attaching a short block of 2 x 4 and straight 2 x 4. Just hang it on the top rail, next to a corner picket.
Install it against the spacer so that you can get the appropriate height and spacing from the ground. It is vital to continue installing pickets and place them at least 3-1/2 inches apart.
We recommend you to use a lever from time to time to check whether everything is even and in perfect height.
 Your GSP – Company Registration Process


